Many students from all over the globe choose to attend college in the United States. Regardless, if you are seeking undergraduate or graduate courses, there are a host of benefits available for international students. Studying in the United States requires strict protocols to be adhered to. Obtaining a student visa that will enable you to study in America is one of the most important and often most intimidating steps.
There are different kinds of student visas to utilize if you are planning on attending an American university or college. The following list explains the various types of student visa options and outlines the different steps you need to follow when applying. This can be a stressful process so there are some key tips you can follow to make the entire process flow a bit smoother.
Which Type of Student Visa Do I Need?
You will be required to apply for and receive a U.S. student visa if your goal is to be an international student who studies in the USA. A student visa allows you to reside in the States temporarily to complete your educational endeavors.
There are 3 different kinds of U.S. student visas offered to international students, according to the U.S. Department of State. They are called the F-1, M-1 and J-1 Visa. Each is available to students who meet specific criteria.
F-1 Visa
Typically, the F-1 visa is the one that most international students will need to have to attend college or high school in the USA. This applies to language training programs, undergraduate studies, and graduate studies. If you are planning to earn your degree from a school in the USA, this is the visa you will require.
M-1 Visa
For international students who will be attending a non-academic school or vocational institution, including trade schools, the M-1 visa is the type required. Generally, these programs are short-term and more career-focused compared to longer degree studies.
J-1 Visa
The J-1 visa is necessary for international students who plan on entering the USA to participate in an exchange visitor program including those who are spending a semester interning in the USA or studying abroad. If you wish to spend one or two semesters studying abroad in the USA this is the visa you will need.
An important note is that international students are not able to study in the USA if they are part of the VWP or Visa Waiver Program or if they have a visitor visa.
How To Apply for a U.S. Student Visa
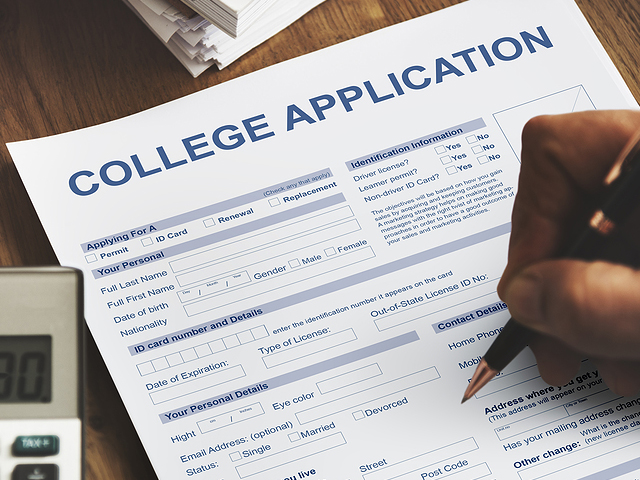
The first step is to apply to and be admitted to a university in the USA. You need to apply and be accepted by an American university or college if you wish to apply for a U.S. student visa.
Once you determine that you want to study in the USA, start thinking about which school will best suit your career and personal goals and begin researching potential schools. Many students find it useful to pick a program that offers internship opportunities, co-op options and chances for experiential learning along with academics that will prove challenging. Seek a well-rounded faculty that is industry sourced to gain the most from your experience.
The school needs to be certified by the SEVP or the Student Exchange and Visitor Program to qualify. You can use a database to search these schools. After you have been admitted to your American university, the visa application process can begin. You need to ensure that you receive your visa before your program starts. However, the earliest you are allowed to receive your visa is 120 days before the program officially begins.
You Need A Form I-20 from Your University or College
International students who have been accepted to a university or college and want their F-1 visa will receive a Form-I-20 or a Certificate of Eligibility for Non-immigrant Student Status from their school.
Your DSO or designated school official will sign this form and it also needs to be signed by the student. Students under the age of eighteen will require a parent’s signature too. If you are bringing children or any eligible dependents with you during your academic studies, you need to obtain a Form-I-20 for each dependent also.
Send In the I-901 SEVIS Fee payment
Once you obtain your Form I-20, you will have to pay the I-901 SEVIS or Student and Exchange Visitor Information System. For M-1 and F-1 visa applicants, this fee costs $200. This fee is necessary for every student visa applicant. It is necessary to cover the costs of the application processing fees.
You may pay the I-901 SEVIS Fee online via credit card unless you live in Nigeria, Ghana, Kenya, Gambia, or Cameroon. If you live in one of these countries, you will have to pay by Western Union money transfer, certified cheque, or with a money order.
The following information will have to be provided when you pay the I-901 SEVIS Fee. Ensure you have all the necessary information ready before you start the process.
- You will need your date of birth, your name, and your address.
- You will need your birth country and your citizenship country if it is different.
- Your email address is necessary.
- The SEVIS Identification number is listed on your Form I-20.
- Your School Code is listed on your Form I-20.
You will also need to show proof of payment when you attend your visa interview appointment. This step occurs later during the process. Therefore, it is wise to print your payment confirmation when you submit it. Note that the visa application fee will be due later during your application process and that this is different from your I-901 SEVIS Fee.
Locate the closest Consulate or U.S. Embassy
You can start preparing for your visa interview once you have paid the I-901 SEVIS Fee. This interview is required to take place at a U.S. consulate or embassy in your home country. The first step is to figure out the closest location to you. There may be a considerable distance from your residence depending on your region or your country. Ensure you pick an attainable location that you will be able to travel to for your interview.
Identifying the location is essential since you will have to list the embassy address when you send in your DS-160 Application Form. If you are unsure of which location you will be applying to, you might end up making a mistake when filling out your forms. This mistake will need to be fixed. An easy solution is to search the U.S. Department of State's database to discover which embassy location is the closest to you.
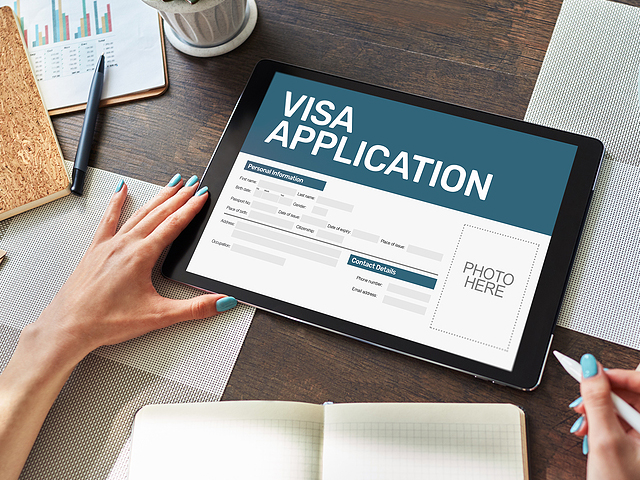
Fill Out the Form DS-160 Visa Application
The Online Non-immigrant Visa Application Form is also called the DS-160. It is a vital piece of the puzzle you need to complete before you apply for your student visa. All answers on this form must be answered in English.
It is important to answer each question truthfully and accurately. If you do not complete this form properly, you may need to correct your file and this will add extra time to the entire process. Extra time is often something students do not have. Ensure you have your completed Form I-20, a visa photograph and your passport for this step to go smoothly.
There may be additional information that you need to supply. This will depend on the agreement your country has with the USA. Extra information may include dates of your previous 5 U.S. visits if you have visited before, your travel itinerary and your international travel history record.
You will need to indicate on this form which consulate or embassy you will be visiting for your visa interview. Once you have finished the DS-160, ensure that you print the barcode page since this will be required to have with you during your visa interview.
Schedule your visa interview at your chosen embassy or consulate
Once you have finished filling out your Form DS-160, the next step is to contact the U.S. consulate or embassy that you indicated on your form to schedule your visa interview. Note that wait times can vary considerably depending on the country and the embassy. Therefore, it is recommended to contact them ASAP to make sure that you get an appointment.
Keep in mind how far you will need to travel for the interview and any travel arrangements you will need to make. Factor these costs and times into your schedule and budget.
Once you book your interview, you will have to pay the Visa Application Fee of $160. Certain embassies will have you pay your fee before you attend your interview and others will require payment on the day of your interview. If the embassy does require pre-payment, ensure you bring your receipt or proof of payment to your actual interview.
Attending your interview
The last procedural step to secure your student visa is to attend your visa interview. It is a significant appointment. Ensure you have all the documents you need when you attend the interview including your visa photo, Form I-20, passport, printed I-901 SEVIS Fee confirmation page, printed DS-160 barcode page, and your confirmation page for your visa application fee payment.
Contact the embassy before your visit to see if they require extra documents as some will require additional paperwork. Determine that you have everything you need before attending your appointment.
After the interview, once you have been approved for the visa, you will need to leave your passport with the embassy. They will return it to you at a later date along with your student visa.
Visa issuance fee payment
Different countries have reciprocity agreements in place with the USA. Depending on your country, an insurance fee may be required to be paid before you obtain your visa. If required, this fee varies by country.
Congratulations! You have followed all the tedious steps and can enjoy successfully embarking on your future studies. While this list may seem exhausting and overwhelming, it is attainable if you break things down step-by-step and use a folder to keep all your essential paperwork and receipts together.
Use a calendar to keep track of when your appointments are and when you are paying for items, etc. This will help make everything more manageable. Your future studies and ultimately, your career hinge on getting this done correctly. It is worth the time and energy.